Are you ready to dive into the world of homemade mac and cheese? If the thought of creating this delectable dish has seemed daunting, fear not! We've got you covered with a simplified step-by-step guide that will have you whipping up the creamiest mac and cheese in no time. Whether you're a seasoned chef or a beginner in the kitchen, we've got tips and variations to suit every taste. Get ready to savor every bite of this mouthwatering comfort food favorite!
GUIDE FOR CREATING DELICIOUS MAC AND CHEESE DISH
If you have never attempted to make homemade mac and cheese, it might appear to be a rather intimidating task. However, do not fret, as we will simplify the process for you and guide you step by step.
- Begin by boiling the pasta and draining it.
- Create the cheese sauce by combining a type of fat, such as butter, with a starch, such as flour, and then whisking in milk products.
- Cook the sauce until it thickens to the desired consistency.
- Add shredded cheeses to the sauce and stir thoroughly.
- Combine the cheese sauce with the cooked pasta.
- Transfer half of the mac and cheese mixture to a baking dish and sprinkle it with additional shredded cheese.
- Layer the remaining mac and cheese on top and add more shredded cheese.
- Bake the dish and prepare to savor every bite!
TIPS FOR COOKING BAKED MAC AND CHEESE
- Boiling the pasta: Cook the pasta slightly less than you typically would. I prefer to boil elbow pasta for approximately 4 to 5 minutes. The pasta will continue to cook in the oven, so you want to avoid it becoming mushy.
- Using room temperature liquids: Whenever possible, use liquids that are at room temperature. Cold liquids generally take longer to thicken than warmer ones. I usually set the milk and half and half out while the pasta water is heating up.
- The cheeses: Feel free to use your favorite cheeses! For this recipe, our personal favorites are cheddar and gruyere. However, you can get creative and select a variety of cheeses. Mozzarella, gouda, smoked gouda, swiss, monterey jack, colby jack, and colby are all good options.
- Shredding your own cheese: Although it may be a bit of a hassle, I highly recommend shredding fresh cheese instead of using pre-shredded cheese from bags. The bags of cheese contain a starchy substance that prevents the cheese from clumping, but also hinders it from melting as well as it should.
VARIATIONS OF MAC AND CHEESE
- Bacon: If you are a fan of bacon, feel free to add some crispy, crumbled bacon as a topping or even mix it into the mac and cheese itself!
- Stovetop: If you prefer not to bake the mac and cheese, you can simply cook the pasta until it is al dente and use only about 3-3 1/2 cups of cheese in total. There is no need to layer the pasta and cheese; just add all the cheese to the sauce and combine it with the pasta.
- Different toppings: While a layer of cheese on top provides a nice crispy texture, you can also try using a topping made with 1 cup of panko mixed with 2 tablespoons of melted butter. Crushed Ritz crackers with melted butter also work exceptionally well!
- Different baking times: The recipe suggests baking at a lower temperature and for a specific timeframe, but you can adjust this based on your family's preferences. I like to bake my mac and cheese at 350 degrees Fahrenheit for 30 minutes, and then broil for an additional 2-3 minutes to achieve a glorious cheesy crust.
PREPARING MAC AND CHEESE IN ADVANCE
- Follow the instructions as directed, but do not bake the dish. Instead, transfer it to a baking dish, allow it to cool completely, and cover it tightly with foil. Refrigerate the dish 1-2 days ahead of time.
- Before baking, let the dish sit at room temperature for 30 minutes.
- Bake it at the specified temperature for 25-35 minutes until it becomes hot and bubbly.
Please note that making the mac and cheese ahead of time may result in some loss of creaminess compared to when it is made immediately. If you need to make this recipe ahead of time, it is recommended to increase the amount of sauce slightly.
STORING MAC AND CHEESE
Any leftovers should be refrigerated and tightly covered. Mac and cheese can be stored this way for 3-4 days. To reheat, stir in a little bit of milk or cream and microwave it partially covered with plastic wrap. Stir frequently as it reheats.SPECIAL EQUIPMENT USED IN THIS RECIPE
- Box Grater
Hey there! I'm Amanda. I am a wife, a mother, a photography enthusiast, and a bacon lover! I believe that delicious meals should be easy to prepare. Now that you're here, take some time to browse through a few recipes and let's get cooking!
Learn More
How to AVOID grainy cheese sauce:
- The type of cheddar makes a difference. Opt for high-quality aged cheddar cheese, as it offers a smoother texture and stronger flavor. Cheaper and more mild cheddar cheeses tend to have less flavor and a grittier taste.
- Use fresh grated cheese. Pre-shredded store-bought cheese does not melt as well as freshly grated cheese. Grating the cheese before using it helps it melt smoothly and evenly into the sauce.
- Bring the cheese to room temperature. Grate the cheese first, before proceeding with the recipe. Allowing it to sit at room temperature while preparing the white sauce helps with the melting process.
- Use low heat. Gradual changes in temperature are essential for proper cheese melting. Remove the sauce from heat when adding the cheese and let it cool for a few minutes. The sauce should only be warm enough to melt the cheese.
- Avoid over-stirring the sauce once the cheese has melted. Add the noodles and quickly assemble the dish before transferring it to the oven.
AVOID pre-shredded Cheese!
I am aware that pre-shredded cheeses are convenient, but they do not offer the same taste and texture as freshly shredded cheese. Bags of pre-shredded cheese contain a starchy substance that prevents clumping but can hinder proper melting. Therefore, I highly recommend taking the time to shred fresh cheese for your homemade mac and cheese. The difference is well worth it!
8 Simple Ingredients is ALL you Need:
- Elbow macaroni: This is my preferred pasta shape, but you can use any bite-sized pasta.
- Butter: You can use salted or unsalted butter; just adjust the amount of added salt accordingly.
- Flour
- Salt
- Ground black pepper
- Milk
- Half and half
- Shredded Cheddar cheese: Opt for high-quality aged cheddar for the best results.
Perfect Mac and Cheese in 5 Steps:
To bake or not to bake:
Baking the mac and cheese is optional. The pasta and cheese are fully cooked and ready to eat once they are mixed together. However, baking the dish adds an extra layer of gooeyness and can elevate its overall presentation.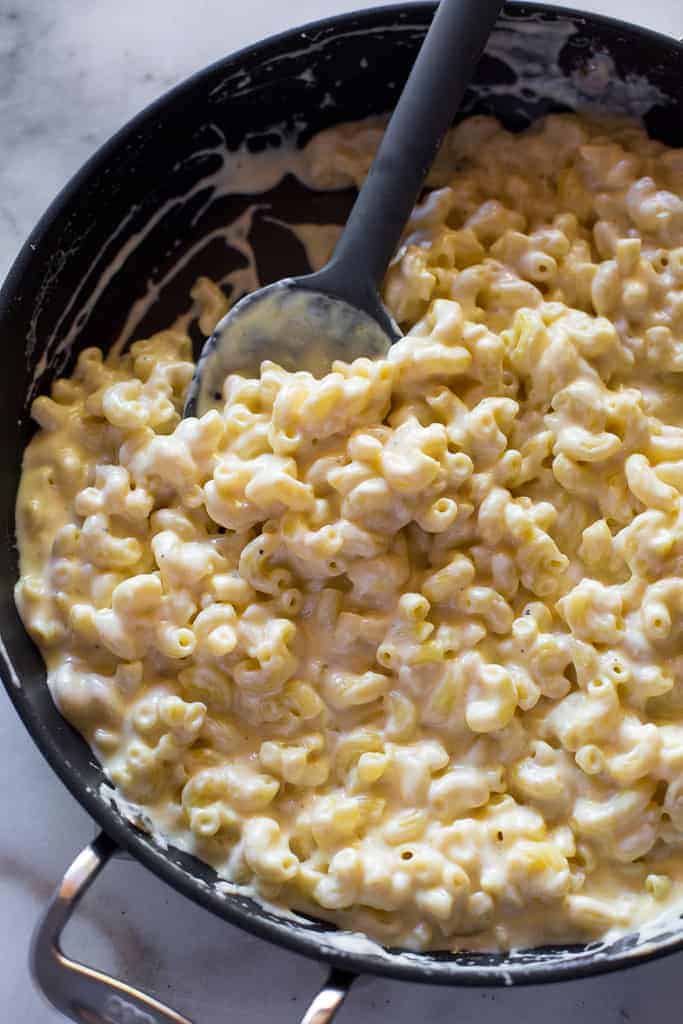
What Type of Cheese?
This classic mac and cheese recipe calls for cheddar cheese. I personally recommend using medium or sharp cheddar cheese for its flavor. However, you can experiment with different cheeses to create a more luxurious mac and cheese. White cheddar, smoked gouda, gruyere, brie, goat cheese, mozzarella, and fontina are all excellent options. Make sure to select cheeses that melt well.
Freezing and Storing:
This recipe freezes well. If you want to make a double batch, freeze one for later. It's best to freeze the dish before baking it in the oven. Allow the mac and cheese to cool completely, transfer it to a freezer-friendly dish, cover it well, and freeze it for up to 3 months.
In conclusion, homemade mac and cheese is not as daunting as it may seem. With our simplified guide and helpful tips, you can confidently create a delicious and creamy dish that will impress your family and friends. Whether you choose to bake it or not, use different cheeses or add some crispy bacon, this versatile recipe can be easily customized to suit your taste buds. So don't hesitate to give it a try and experience the joy of creating a comforting and satisfying meal right in your own kitchen. Happy cooking!


 Facebook